SOIL BLOCKING, A BOUNDLESS SOLUTION
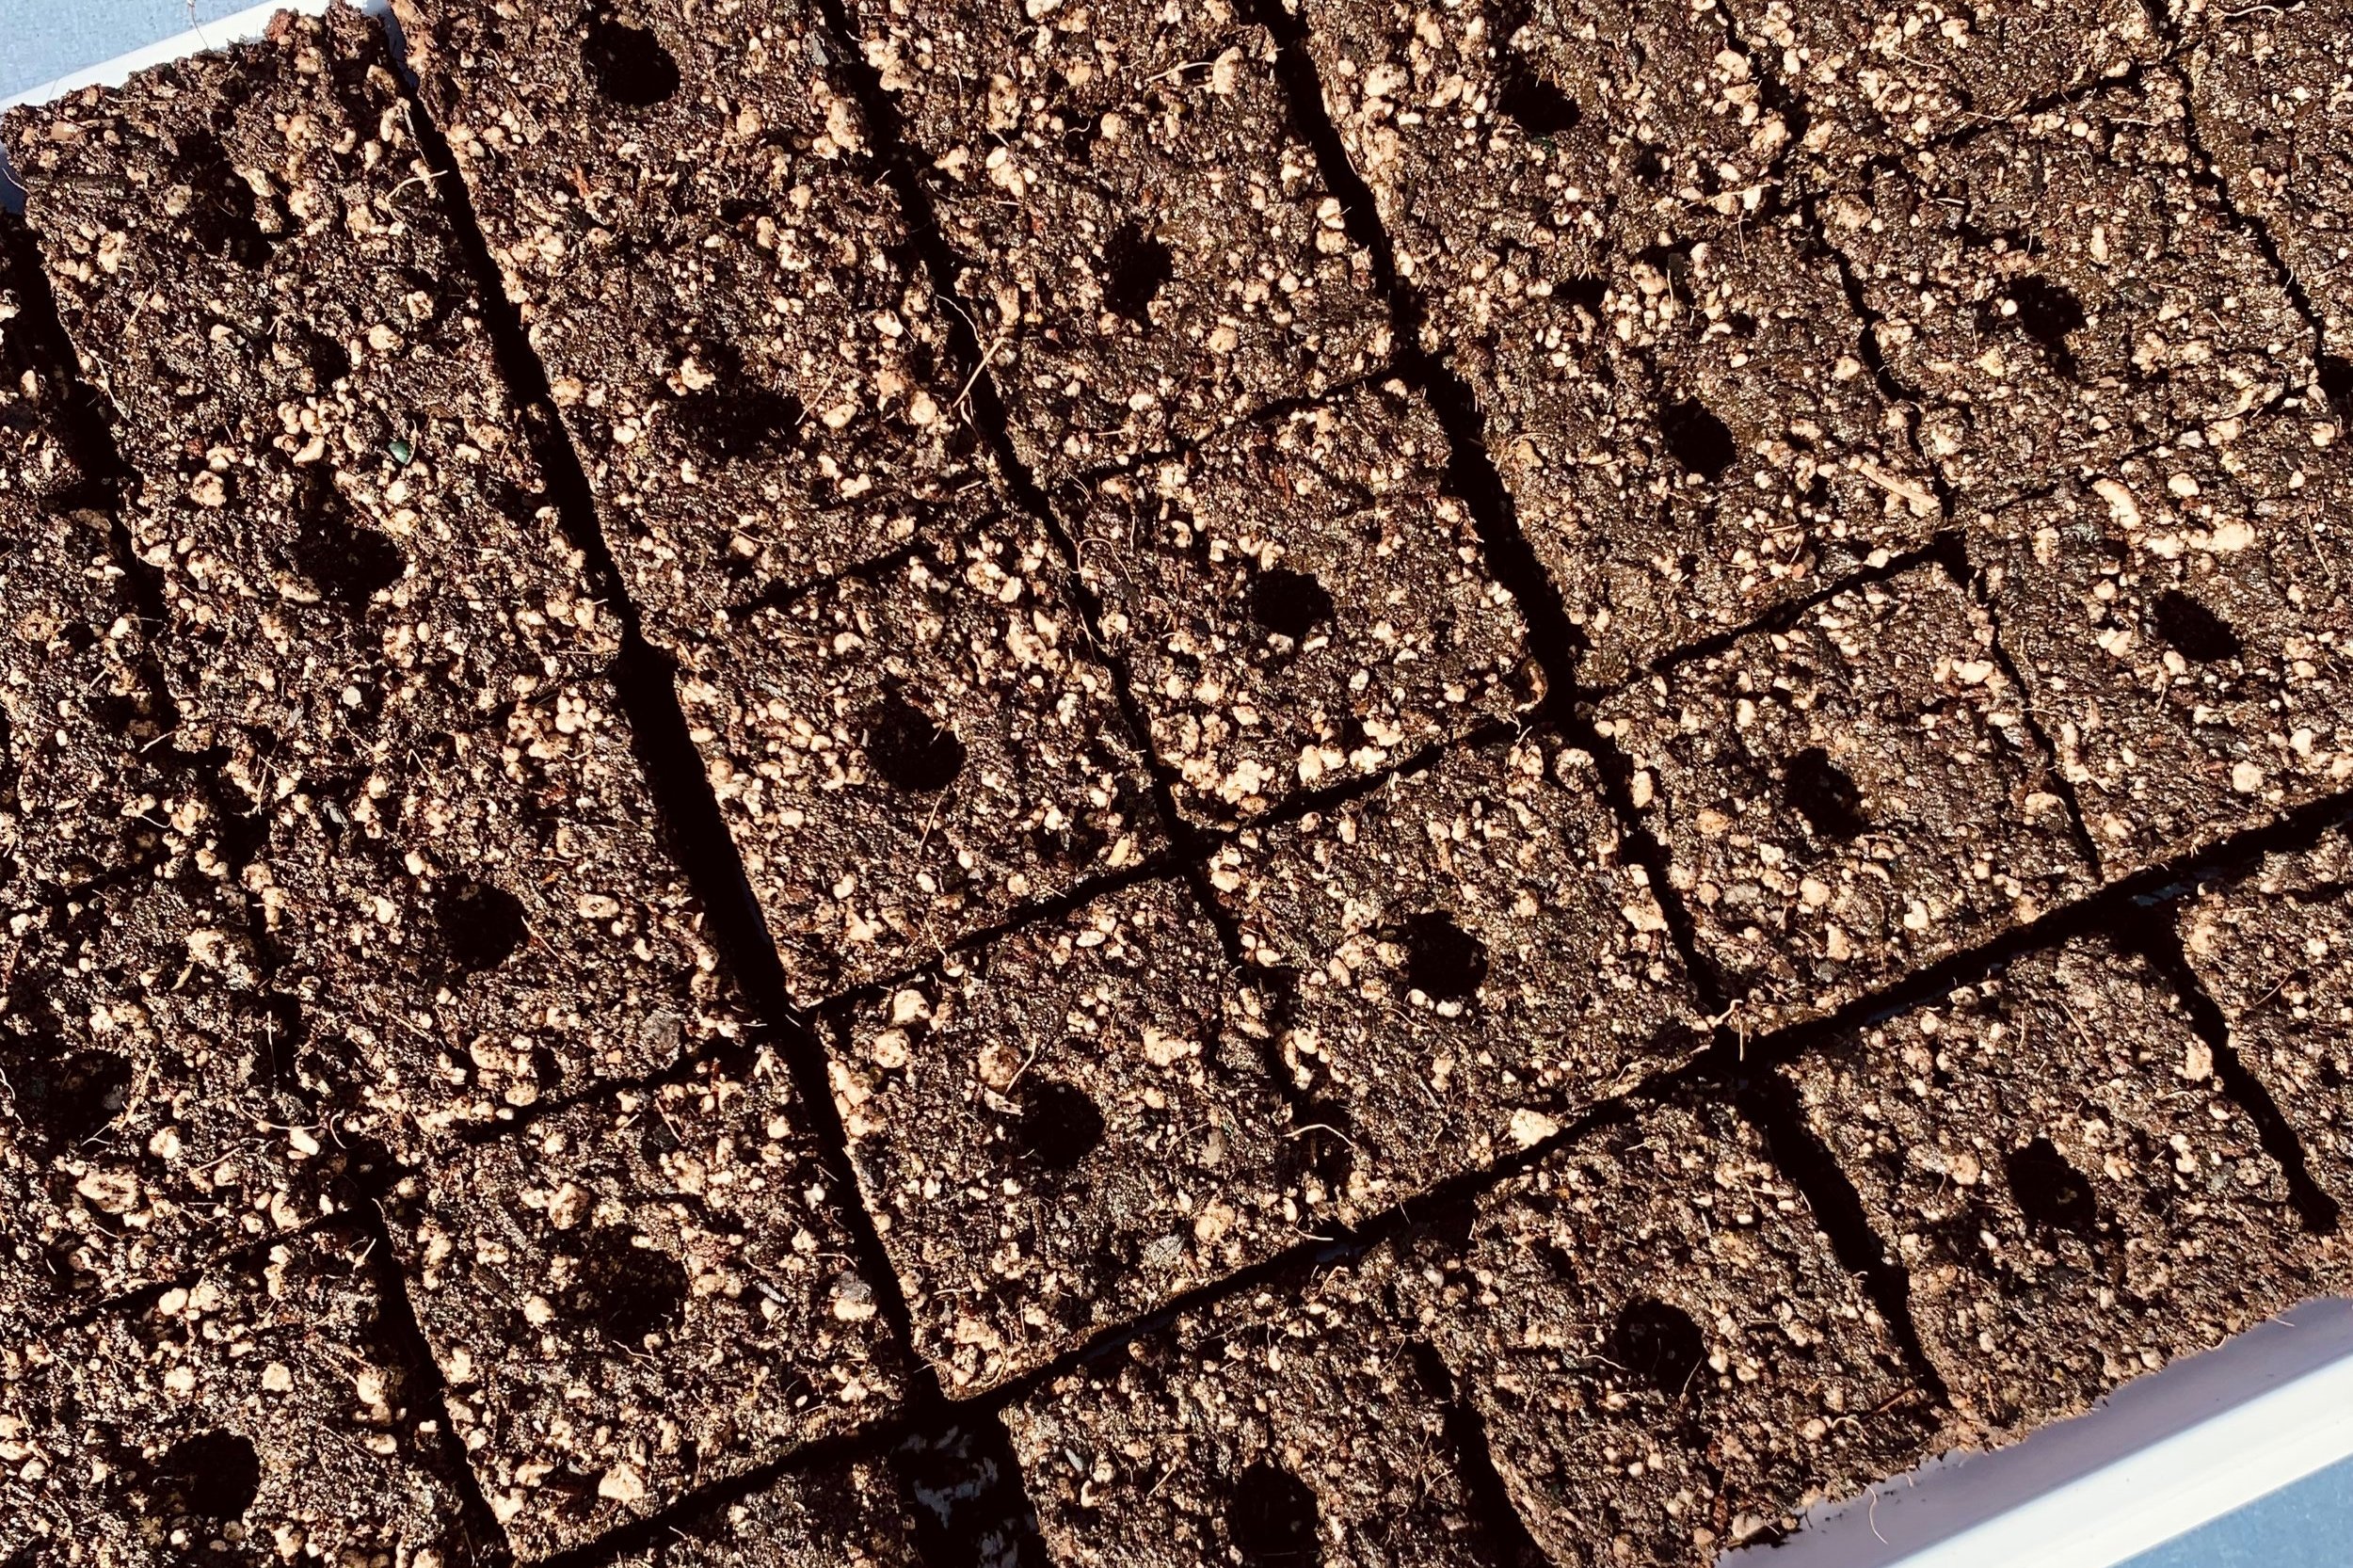
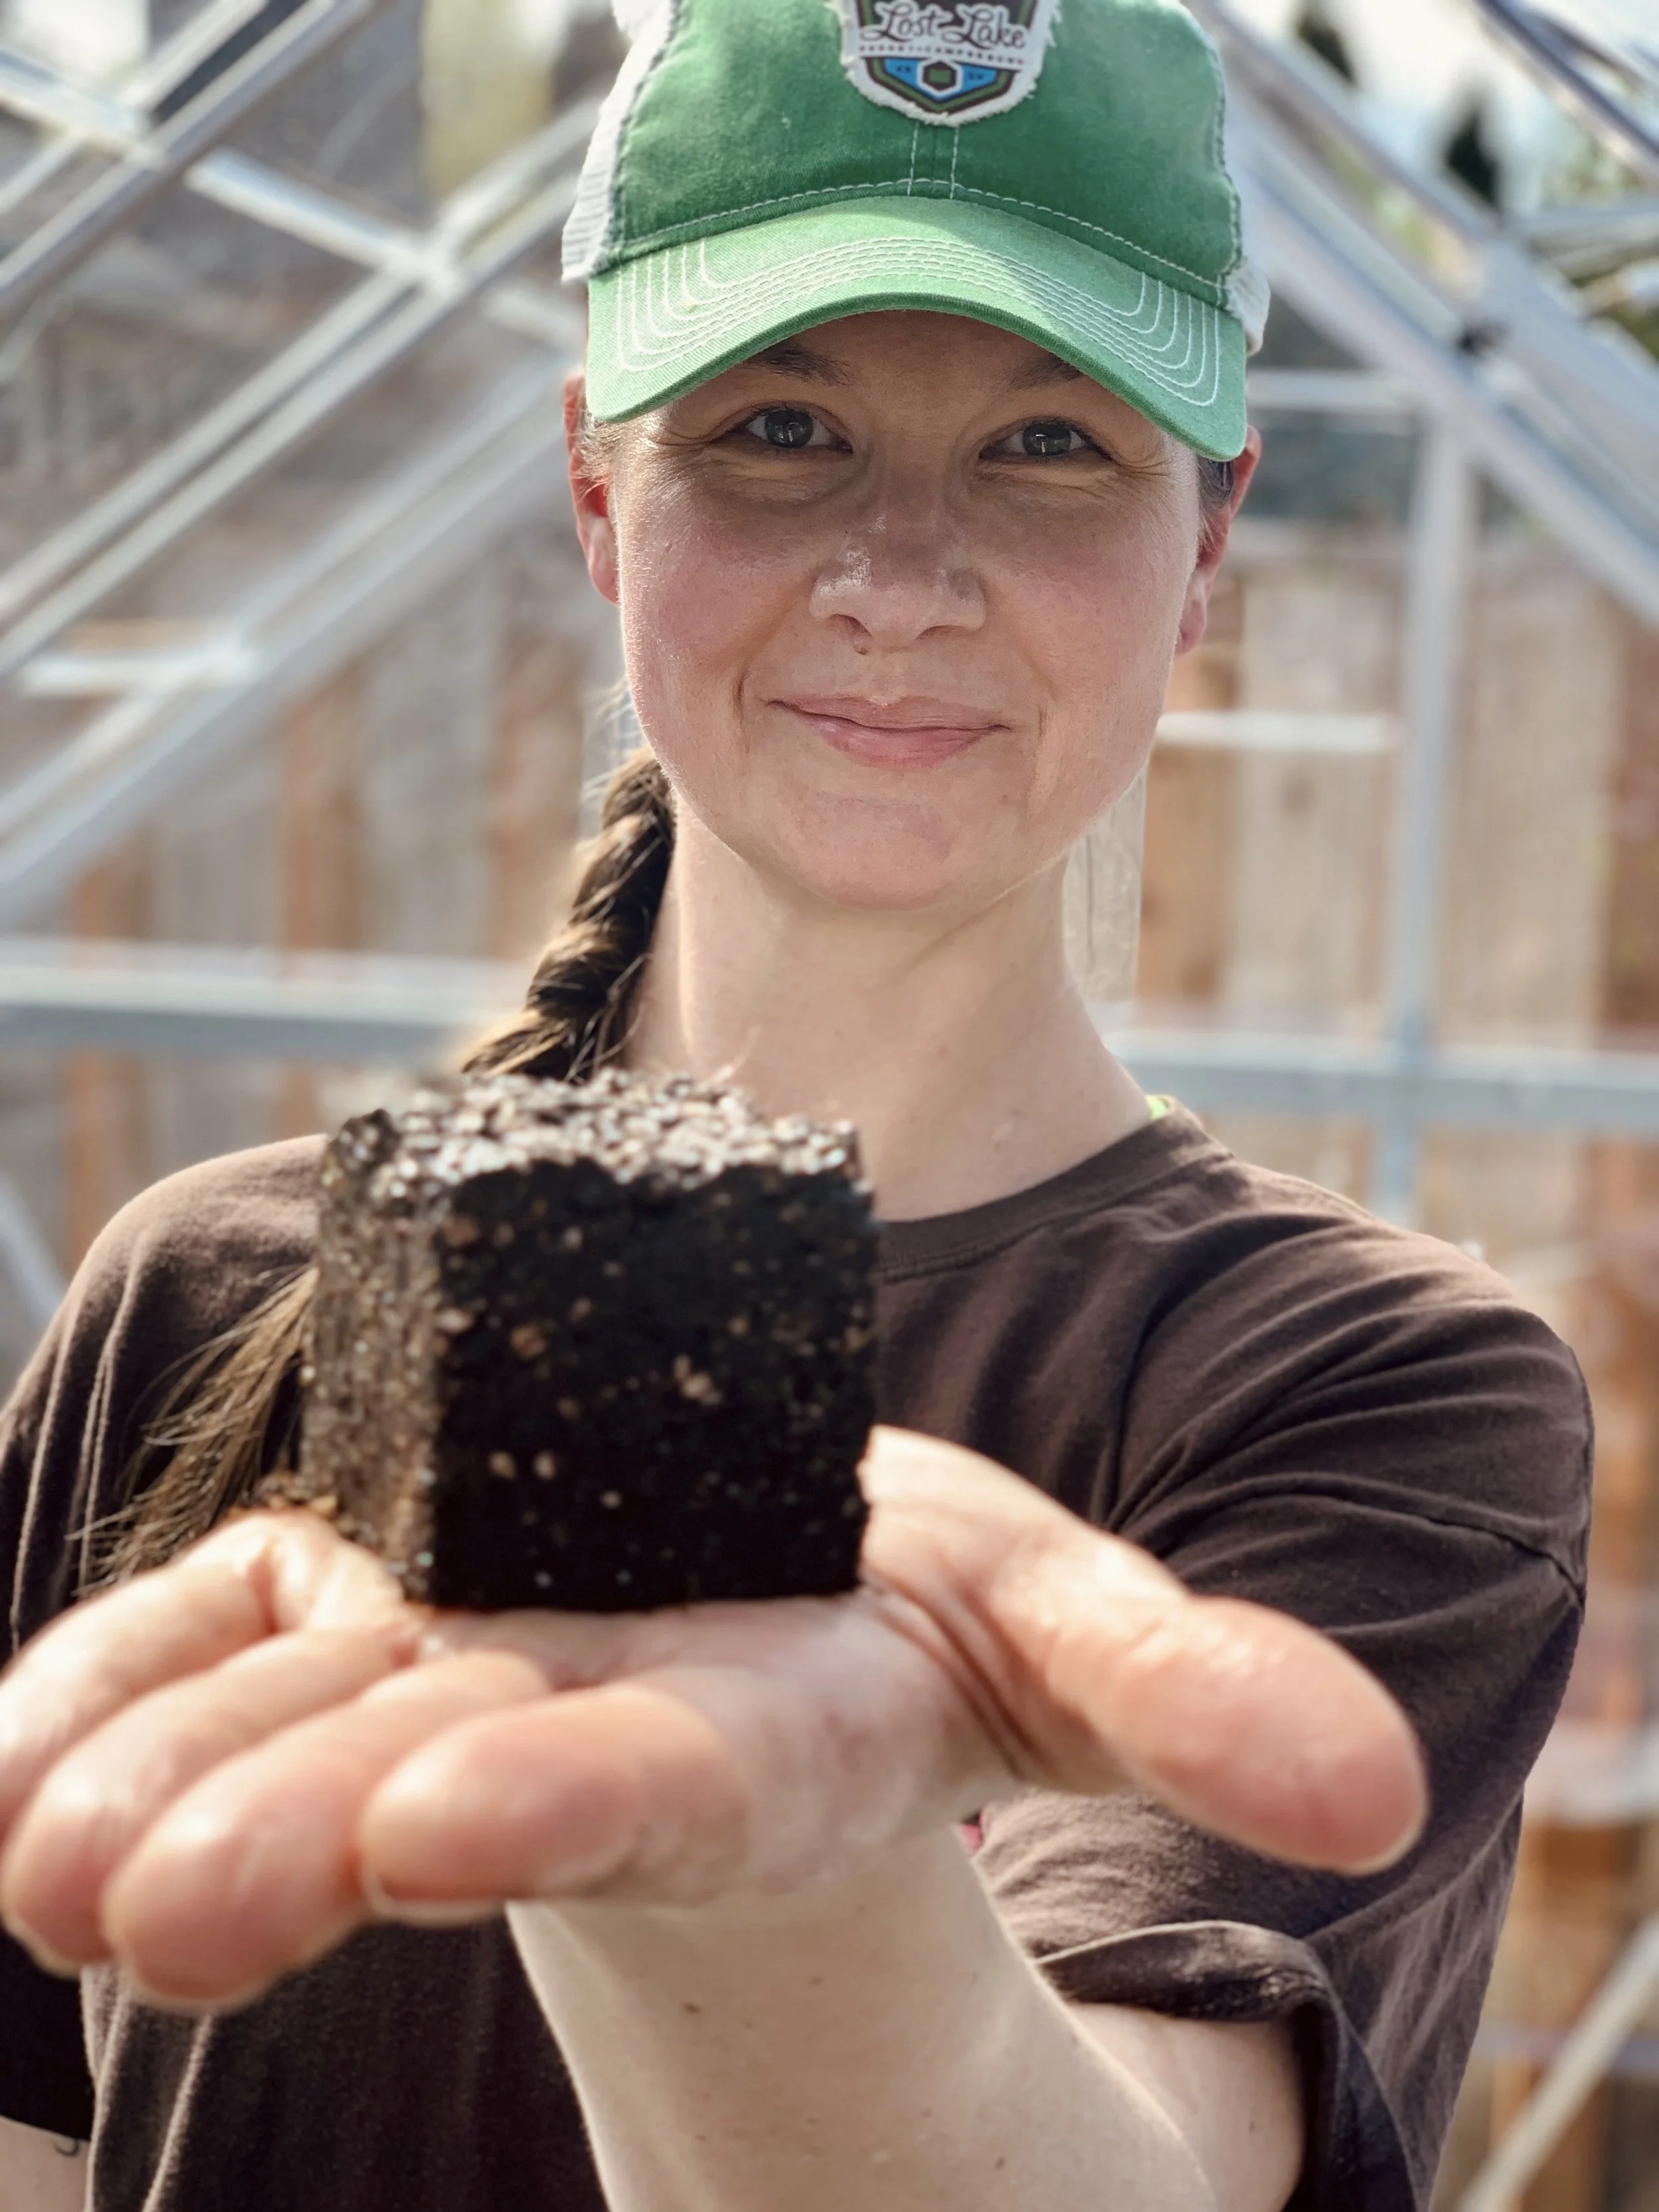
My favorite way to start seeds is with Soil Blocks. They’re made with a metal form and a seed starting medium that’s mixed with water. The little cubes (¾”, 2”, or 4”) of soil have an indent for the seed(s) that are topped with the seed starting mix (or whatever is called for per the seed variety). Once your plant baby is ready to be transplanted—either to the ground or blocked up — you simply place it in its new home. It’s a fun process, that in my experience, produces the healthiest seedlings and are the easiest to transplant.
In this article, I’ll cover the foundations of Soil Blocking. With this information, you can decide if this method is for you and then get started. I’ll also share additional resources that have helped me.
IS SOIL BLOCKING FOR YOU?
ADVANTAGES OF SOIL BLOCKS
Mama Earth Friendly! It’s the friendliest way I’ve found to start seeds.
Inexpensive upfront investment that pays for itself for many years.
Easy to store and takes little space.
No pots or seed starting cells to clean after planting (just trays to wash out, which are easy).
The only limit to how many starts you can have is your space and seed-starting mix on hand.
Transplant process is quick.
Healthiest seed babies.
Roots are air pruned, so no root bound plants like you may experience with plastic pots and other methods.
GOOD FOR
Earth Lovers.
Those who like the advantages above.
Those who like to play in the dirt.
Those that have a place to mix soil, water, and press the soil blocks.
Those who like to start plant babies from seed.
MIGHT NOT WORK FOR
Those with limited space for seed starting.
Those who like to keep it clean-ish while gardening (but how clean can you actually stay?).
If you already have equipment for another process. Use what you have. When your supplies wear out and you need to invest in another process, come back to this.
ABOUT SOIL BLOCKS
SOIL BLOCKERS
The blockers are a metal frame divided into sections with a lever that presses the blocks down and out. They come in 3 sizes: ¾”, 2”, and 4”.
¾” micro block: for starting little seeds that usually have a longer germination time and need to be on a heat mat. The advantage in this case is that you can start a lot of seeds in a little space.
2” mini block: used to start seeds and block up ¾” blocks. It has 3 dibbler options (that’s the piece that leaves in a dent in the spoil).
¾”x ¾” square: used to start seeds in ¾” x ¾” soil blocks and they need to be blocked up. It’s also good for starting multiple, larger seeds in a block.
¾” x ¾” round: used for most seeds and I think comes with most (all) blockers. If you’re just getting started, this might work for your purposes.
⅞” x ¾” round: for seeds that need a little deeper space.
4” blocker: for blocking up 2” blocks. I haven’t used this one, but I’m hoping to this year.
SEED STARTING MIXES
I’m working with a few different “recipes” for my soil blocks and don’t quite have measurements dialed in to share (yet!). It’s essentially Elliot Coleman’s recipe which you can find in his book (see below) as well as [here]. I swapped out a couple of things. Coco coir instead of peat because of access in my area (I know this might be a hot topic). I also modified the nutrients so there are no animal byproducts (substituted alfalfa meal for blood meal). I’ve heard some ready-made mixes work for soil blocking, but I haven’t used them myself so I can’t suggest any.
HOW TO
This, like most things, is “simple” once you get the hang of it. It took me several times through the entire process—setup to clean up—to get my flow down, dial in the water amount, and method for pressing out the blocks. Be patient with yourself and build in learning time your first several sessions so you can enjoy it.
Also, stretch before! Arms, wrists, back, and legs. I’m serious! This is a physical process between gathering all the supplies, sitting or standing, and pressing all these blocks which take muscle.
Let’s get started.
Gather your supplies
Soil blocker(s)
Seedling mix (make if needed)
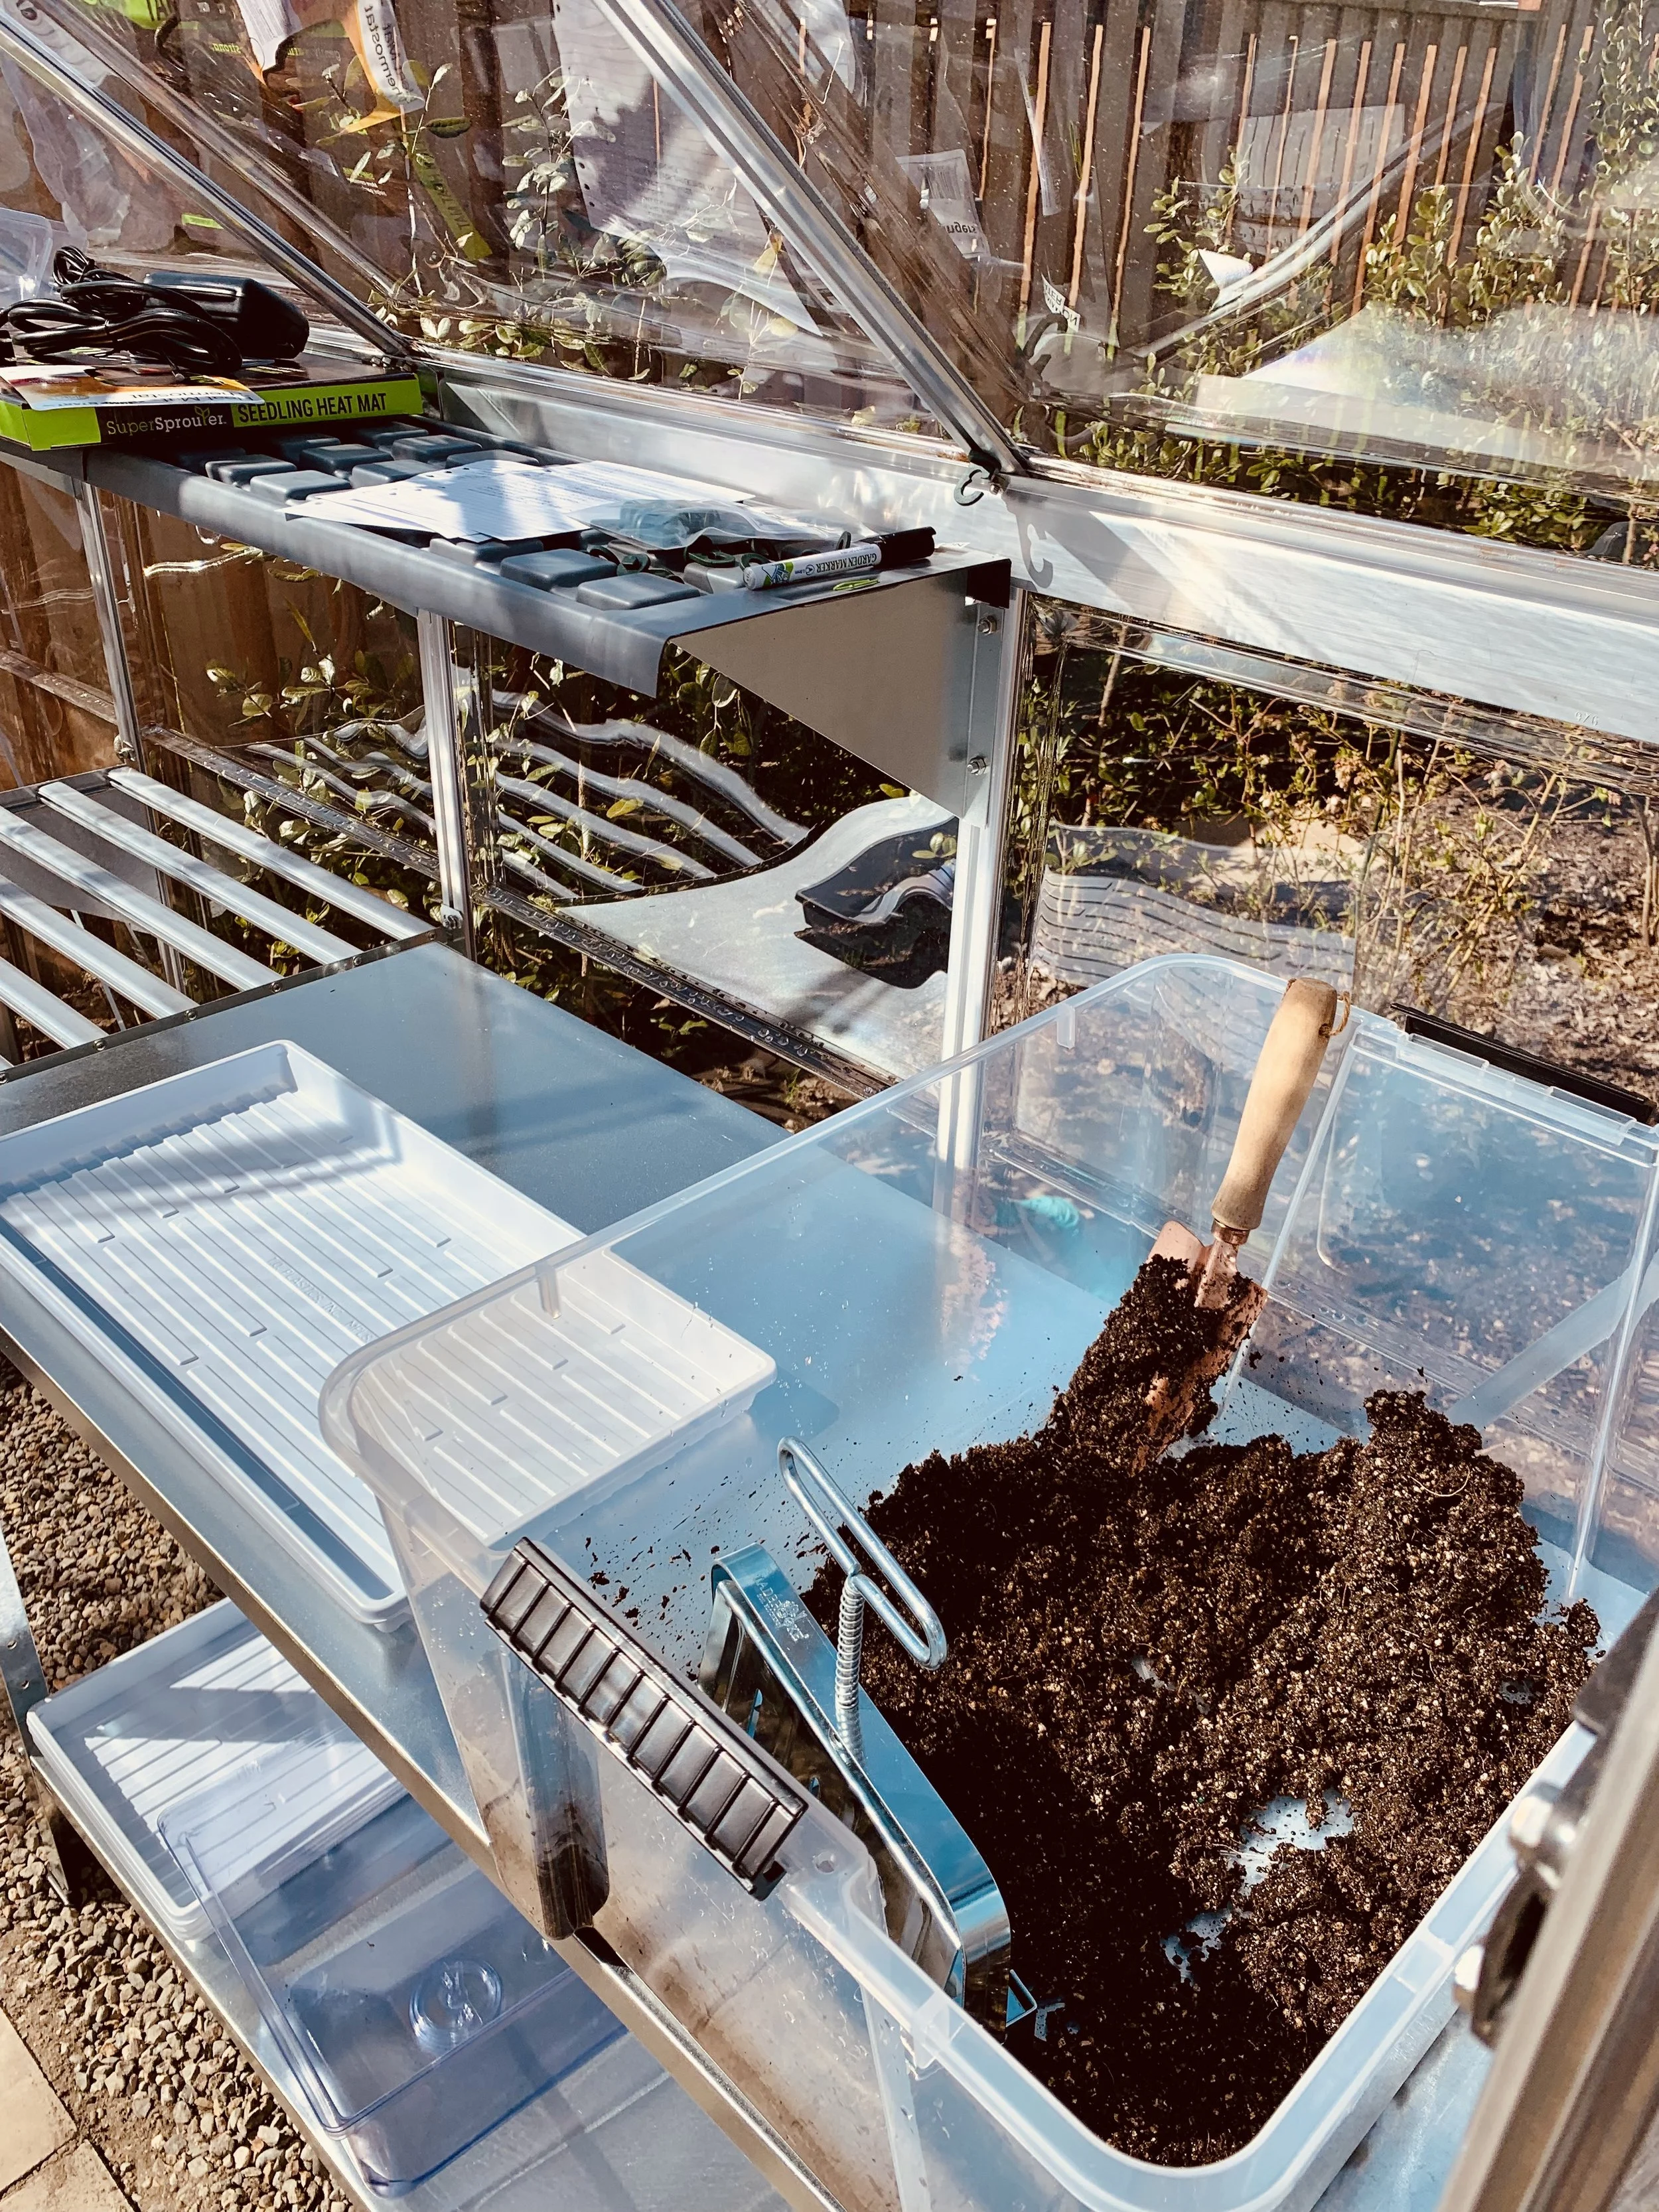
A large container to mix the seedling mix and water, then press
Trays for the blocks (There are lots of different options. Currently, I use heavy duty-plastic 10x20 trays because I already have them. Someday, when they need to be replaced, I’ll use wood.)
Seeds
Plant Markers
Anything else you need for your seeds—humidity domes, heat mats, lights
Water
Put some seed mix in to your bucket and add enough water to make it the consistency of brownie batter/thick frosting. When you pick up a bunch in your hand, squeeze it together, and then open your hand, it should stick together. Be patient with yourself until you dial this in.
Time to block. Press the blocker into the seedling mix until it's really packed in, then press it on the side of the tub to be sure it’s really packed and to help level it off. If there is a lot of extra on the bottom, I use my hand shovel to level it off.
Set the soil blocker in your tray, and pressing down, squeeze the lever.
Ta-da, soil blocks!!
Add your seed to the divot and top as needed with soil mix or as called for by variety
Label
Set up where the seed babies will get started
HAPPY BLOCKING
If soil blocking sounds like a good option for you, I hope you’ll try it. It’s fun, efficient on every level, and for me has produced the best plant babies. Also, check out the additional resources below for even more information.
Gardening Love,
Nicole
ADDITIONAL RESOURCES
READ
I learned about soil blocking from Elliot Coleman. Check out how he learned about the process [here].
In his book, The New Organic Grower, he goes into more detail about the method. The information I refer to constantly is how many seeds per block (yep, more than one in some cases) and at what age to transplant plant babies. This book is also great for anyone who wants to sell market produce or grow a larger volume (or all of) their own food at home.
PURCHASE
I encourage you to support your local nurseries whenever possible. If you need to order soil blockers, I’m sure there are lots of places to find them, but these are the two places I purchased mine.


